
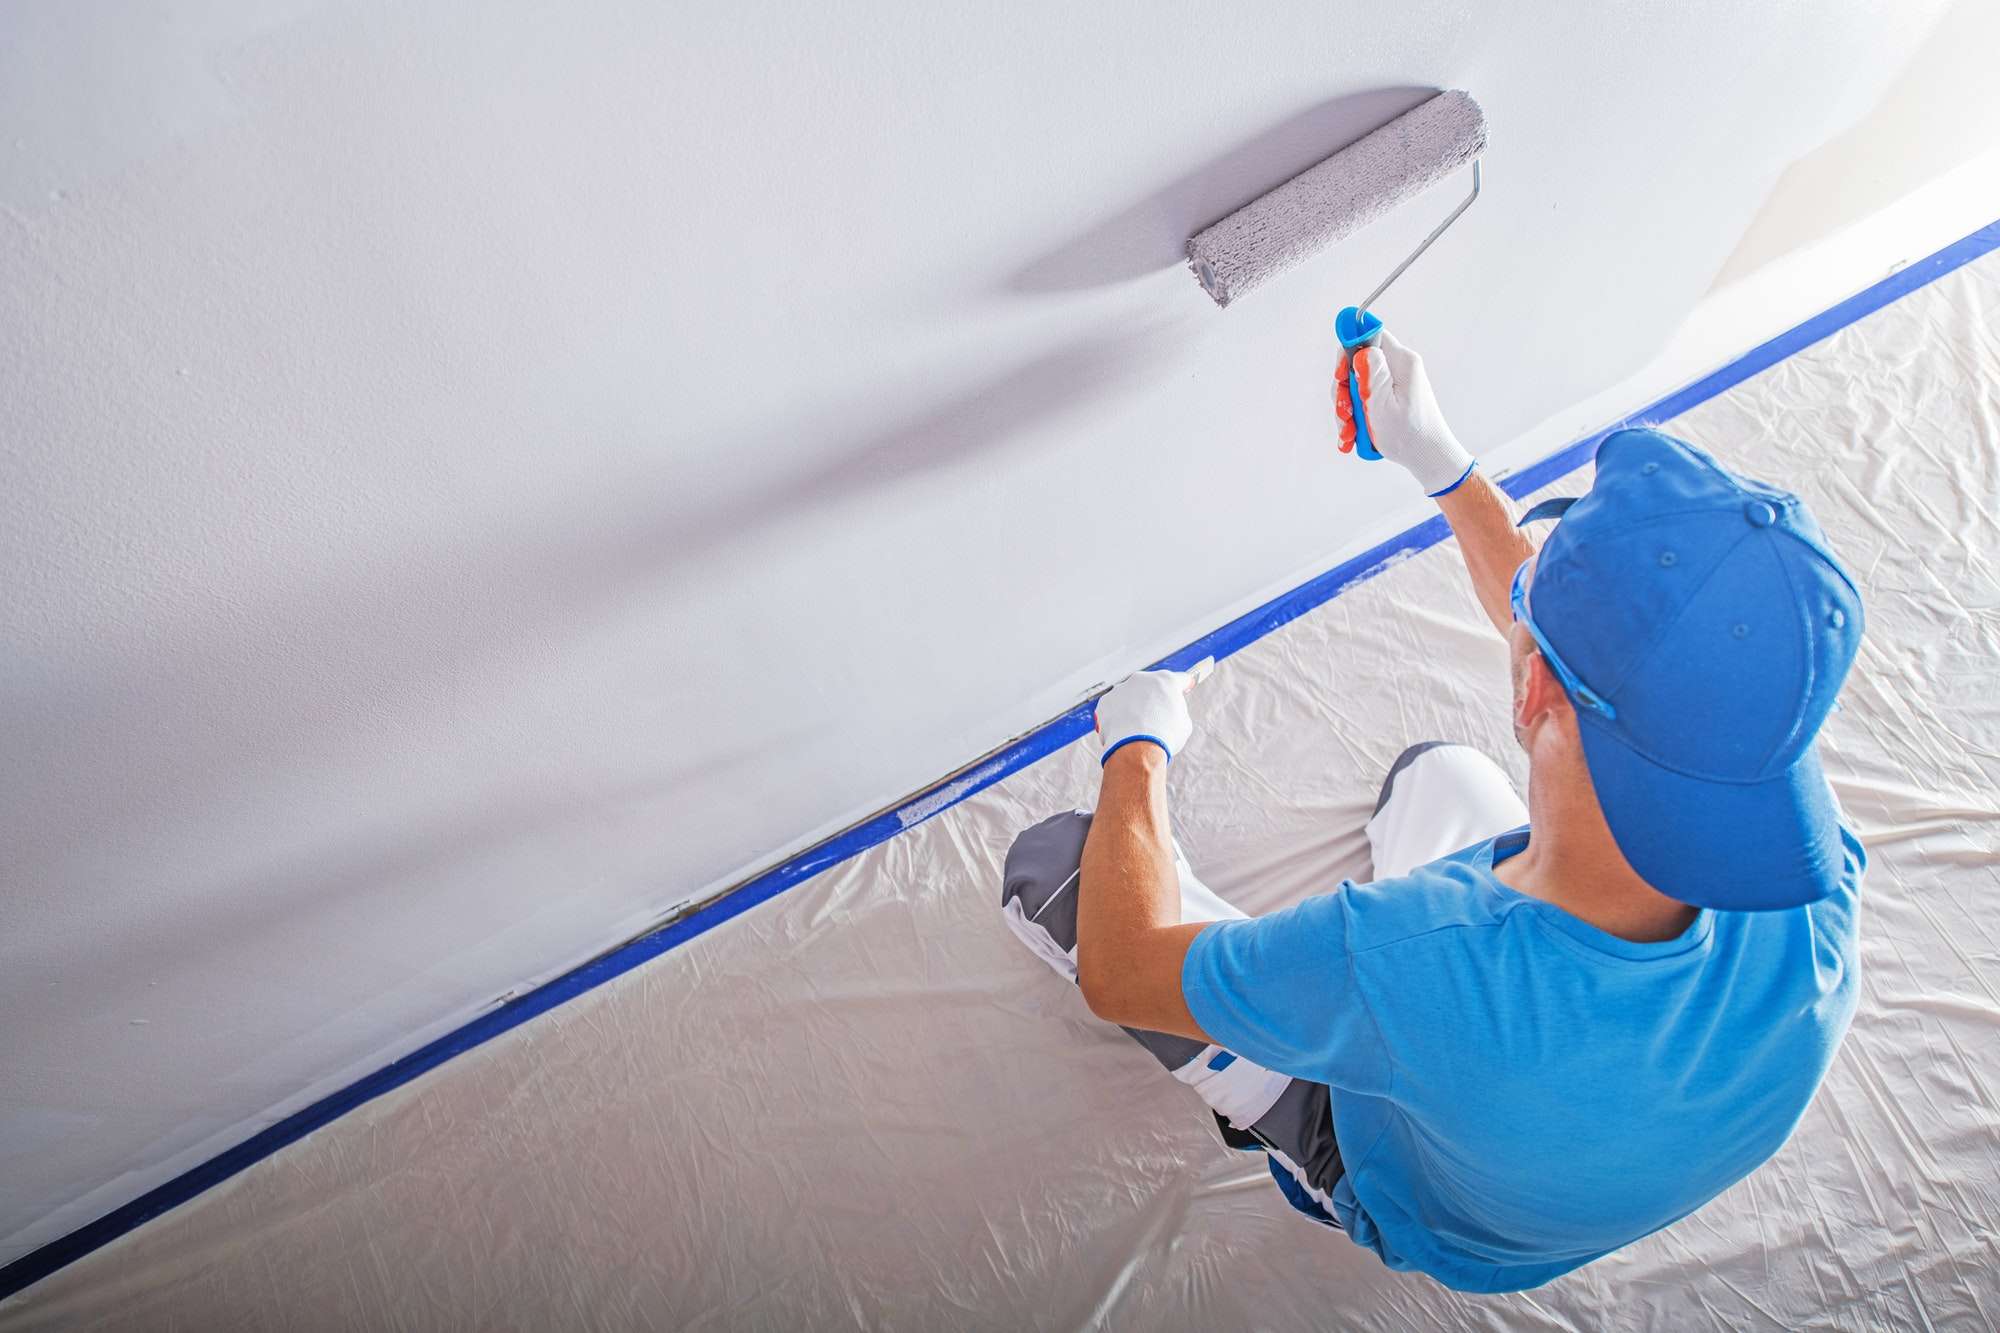
Bathroom paint mould is almost always a moisture problem, not a paint problem. To stop it coming back, fix the source of the damp, clean the mould off rather than painting over it, let the surface dry fully, then repaint with a product made for humid rooms. Kitchens follow the same rules, with grease added to the mix.
Here is how to get a kitchen or bathroom repaint that stays clean and holds up.
Why does mould grow on bathroom paint?
Mould needs moisture, and bathrooms and kitchens produce plenty of it. Every shower, bath and simmering pot puts warm, wet air into the room. When that air hits a cooler surface, such as a ceiling, an outside wall or a window reveal, it condenses. If that dampness sits there day after day, mould takes hold.
Melbourne homes are prone to it in winter. Windows stay shut, the outside walls and ceilings are cold, and many older bathrooms have small or no exhaust fans.
Common causes of recurring mould include:
- An exhaust fan that is too weak, switched off as soon as the shower ends, or not ducted outside
- No openable window, or a window that is never opened
- A slow leak from the roof, a shower recess or plumbing in the wall
- Mould that was painted over in the past rather than removed
- A general-purpose wall paint used where a wet-area paint was needed
Fix the moisture before you pick up a brush
Paint can’t solve a moisture problem coming from behind or above the surface. Wattyl’s guide to painting a bathroom ceiling to prevent mould puts it plainly: if there is an active leak, plumbing issue or roof problem, fix that first.
Improve ventilation
Victoria’s Better Health Channel recommends using exhaust fans or opening windows in the bathroom and kitchen when showering, cooking or running the dishwasher, and wiping up condensation on windows and shower glass. A few practical checks:
- Make sure your exhaust fan actually draws air. Hold a tissue under it while it runs.
- Leave the fan running after a shower rather than switching it off straight away.
- Clean the fan cover regularly, as dust build-up reduces airflow.
- If the fan seems to vent into the roof space, have an electrician check it.
Look for leaks
Brown rings on the ceiling, bubbling paint near the shower or a musty smell that never goes away can all point to water getting in. Have these looked at by a plumber or roofer before repainting, or the new paint will fail the same way. Our guide to peeling, cracking and blistering paint explains how moisture causes paint to lift.
How to remove mould before painting
Never paint straight over mould. Wattyl calls painting directly over mould the biggest mistake people make, because the mould can return and the paint may fail early.
The Better Health Channel’s guide to mould removal at home recommends:
- Wearing protective gear: rubber gloves, eye protection and a P1 or P2 mask
- Keeping the room well ventilated while you clean
- Starting with household detergent or white vinegar, which is often enough
- Never mixing bleach with ammonia, acids or other cleaners, as this can release hazardous fumes
- Not dry brushing mouldy areas, and rinsing your cloth often so you don’t spread spores
- Drying the area afterwards
It also advises that pregnant women, children and people with weakened immune systems or chronic lung disease should not remove mould or be present while it is removed. If mould covers large areas or keeps returning, consult a mould remediation professional.
Preparing kitchen and bathroom surfaces
Once the mould is gone and the moisture is fixed, preparation decides how long the new paint lasts.
- Let it dry completely. Wattyl advises against painting over a damp ceiling, as trapped moisture affects adhesion and can cause bubbling. Run fans and open windows, and wait longer if the surface still feels cool or damp.
- Degrease kitchens. Kitchen walls and ceilings, especially around the cooktop, carry a film of grease that paint won’t stick to. They need a thorough clean before painting.
- Scrape and sand. Remove loose or flaking paint, sand rough edges and fill any cracks or holes.
- Remove all dust so it doesn’t interfere with adhesion or leave a gritty finish.
- Prime stains and repairs. Use a stain-blocking primer or sealer over water stains, patched areas and anything that was previously damp.
- Remove old silicone where you are painting. Paint won’t adhere to silicone, so cut back old beads before painting and reseal afterwards.
A word on asbestos in older bathrooms
The Victorian Government’s asbestos hub says that if your home was built or renovated before 1990, it likely contains asbestos, and you can’t judge whether a material is safe by how it looks. Older bathrooms often have fibre cement sheeting on walls and ceilings. If you suspect it, have it assessed by a professional before anyone sands, drills or cuts it.
Choosing the right paint for wet areas
Ordinary wall paint isn’t designed for daily steam. For bathrooms, laundries and kitchens, use a purpose-made wet-area product. Dulux’s Wash&Wear +Plus Kitchen & Bathroom is one example: it is fortified with a mould inhibitor and developed for humid or damp rooms. Taubmans and Wattyl make wet-area ranges too.
Keep in mind what anti-mould paint can and can’t do. Wattyl describes it as preventative: it helps resist mould growth on the finished paint film. It won’t fix a room that stays damp.
Which finish?
Low sheen and semi-gloss are the usual choices for kitchen and bathroom walls because they are easy to wipe down. Ceilings in wet areas also need a paint suited to humidity, rather than a standard flat ceiling white. For a full comparison of finishes, see our paint sheen guide. If you are changing colours at the same time, a colour consultation can help you choose shades that work with your tiles, benchtops and fixtures.
Kitchen specifics
- Splashback areas and the wall behind the cooktop take the most grease and heat. A washable finish makes cleaning easier.
- Painted kitchen cupboards and doors are a different job from walls. They need specific preparation and a hard-wearing enamel-type finish, so talk to your painter about the right system.
Keeping mould away after you repaint
A fresh coat will only stay clean if the room’s habits change too:
- Run the exhaust fan during every shower and for a while afterwards
- Open a window when you can, even a little
- Squeegee or wipe down shower glass and tiles
- Wipe the ceiling with a mild detergent at the first sign of spotting, before it spreads
- Keep the room warm in winter if you can, as cold surfaces attract condensation
When to call in a professional
A small bathroom ceiling is a reasonable DIY job if the mould is light, the moisture is fixed and the ceiling is in good condition. It’s worth bringing in a painter when mould keeps returning, the ceiling is peeling or stained, there may be asbestos, or you want the kitchen and bathroom done as part of a larger interior repaint.
AMP Master Painters has been painting Melbourne homes since 1998, and every job carries our written 7-year guarantee. If you are getting a painter in, our checklist on how to prepare your home for painters helps the job run smoothly.
The bottom line
Stopping bathroom paint mould is about moisture first and paint second. Fix leaks and ventilation, clean the mould off properly, let the surface dry, prime stains, then use a paint made for humid rooms. Do it in that order, keep the fan running, and the new finish should stay clean for years.